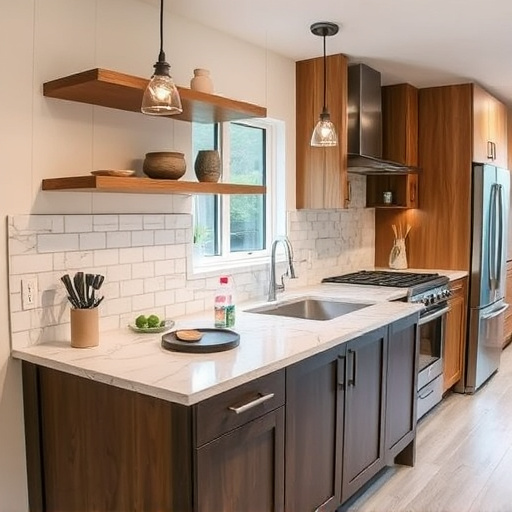


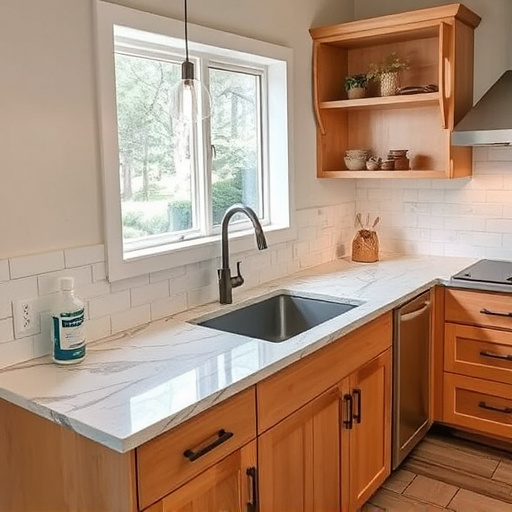
Preparing your subfloor is crucial for tile flooring installation, involving meticulous inspection and repair to ensure a level surface. Choosing durable ceramic or porcelain tiles enhances aesthetics and functionality, especially in high-traffic areas. Professional installation techniques, including even adhesive application and precise tile placement, create strong bonds and straight lines, resulting in an aesthetically pleasing and long-lasting tile flooring project.
Looking to install tile flooring like a pro? This guide is your perfect companion. Discover the secrets to achieving a flawless, durable finish with step-by-step instructions. From preparing your subfloor to choosing the right tiles and applying adhesive, we cover it all. Learn how to level and prepare for tile laying, select styles and durability that suit your space, and position tiles for an optimal fit. Transform your home with confident, expert-level tile flooring installation.
- Prepare Your Subfloor: Level and Prepare for Tile Laying
- Choose the Right Tiles: Select Durability and Style That Suits You
- Apply Adhesive and Layout: Spread and Position Tiles for Optimal Fit
Prepare Your Subfloor: Level and Prepare for Tile Laying

Before laying any tile flooring, ensuring your subfloor is level and properly prepared is a crucial step. Start by inspecting the existing floor to identify any irregularities or unevenness. If necessary, use shims to adjust the height of uneven areas, making sure the subfloor is completely flat. This process is vital for achieving a seamless finish with your new tile flooring.
Next, consider any required repairs or reinforcement. Fill in gaps or holes in the subfloor using appropriate materials and ensure it’s sturdy enough to support the weight of the tiles you’ve chosen. A well-prepared subfloor is the foundation for beautiful, lasting tile work, making it an essential part of any floor replacement or home improvement services project.
Choose the Right Tiles: Select Durability and Style That Suits You

When installing tile flooring, choosing the right tiles is a crucial step that sets the tone for your entire project. Consider durability as a top priority, especially in high-traffic areas like kitchens and entryways. Ceramic and porcelain tiles are popular choices due to their resistance to chips, scratches, and water damage—essential factors if you’re planning a bathroom remodel or aiming to enhance functional spaces.
Style is equally important for achieving the desired look across your home transformations. From elegant marble to modern subway tiles, explore options that align with your design aesthetic. Remember, the right tiles can elevate both the functionality and visual appeal of any space, making them a key investment in your home’s value.
Apply Adhesive and Layout: Spread and Position Tiles for Optimal Fit

When installing tile flooring like a professional, applying the adhesive is a crucial step. Spread the adhesive evenly across the subfloor using a trowel, ensuring full coverage. This will create a strong bond between the tiles and the surface, providing stability and longevity for your new floor. Once the adhesive is applied, it’s time to lay out the tiles. Position them carefully, considering both the overall pattern and individual tile placement. Aim for an optimal fit, minimizing gaps or overlaps, to achieve a seamless and visually appealing finish that enhances your residential renovations or home transformations.
The layout process requires precision and attention to detail. As you place each tile, ensure it aligns with the adjacent tiles, creating straight lines and consistent patterns. This step is especially important when incorporating tile flooring into interior painting projects, as it ensures the new floor complements and enhances the overall aesthetic of your space. By carefully spreading the adhesive and strategically positioning the tiles, you’re laying the foundation for a professional-looking installation that will serve as a stunning focal point in any room.
Installing tile flooring can be a rewarding DIY project, but achieving professional results requires preparation and attention to detail. By thoroughly preparing your subfloor, selecting high-quality tiles that suit your aesthetic and durability needs, and carefully applying adhesive and laying out the tiles, you can transform any space into a stylish and long-lasting tile flooring masterpiece. Remember, with the right tools, materials, and know-how, you too can achieve the look of a professional installer in your own home.